Follow Me On Social Media!
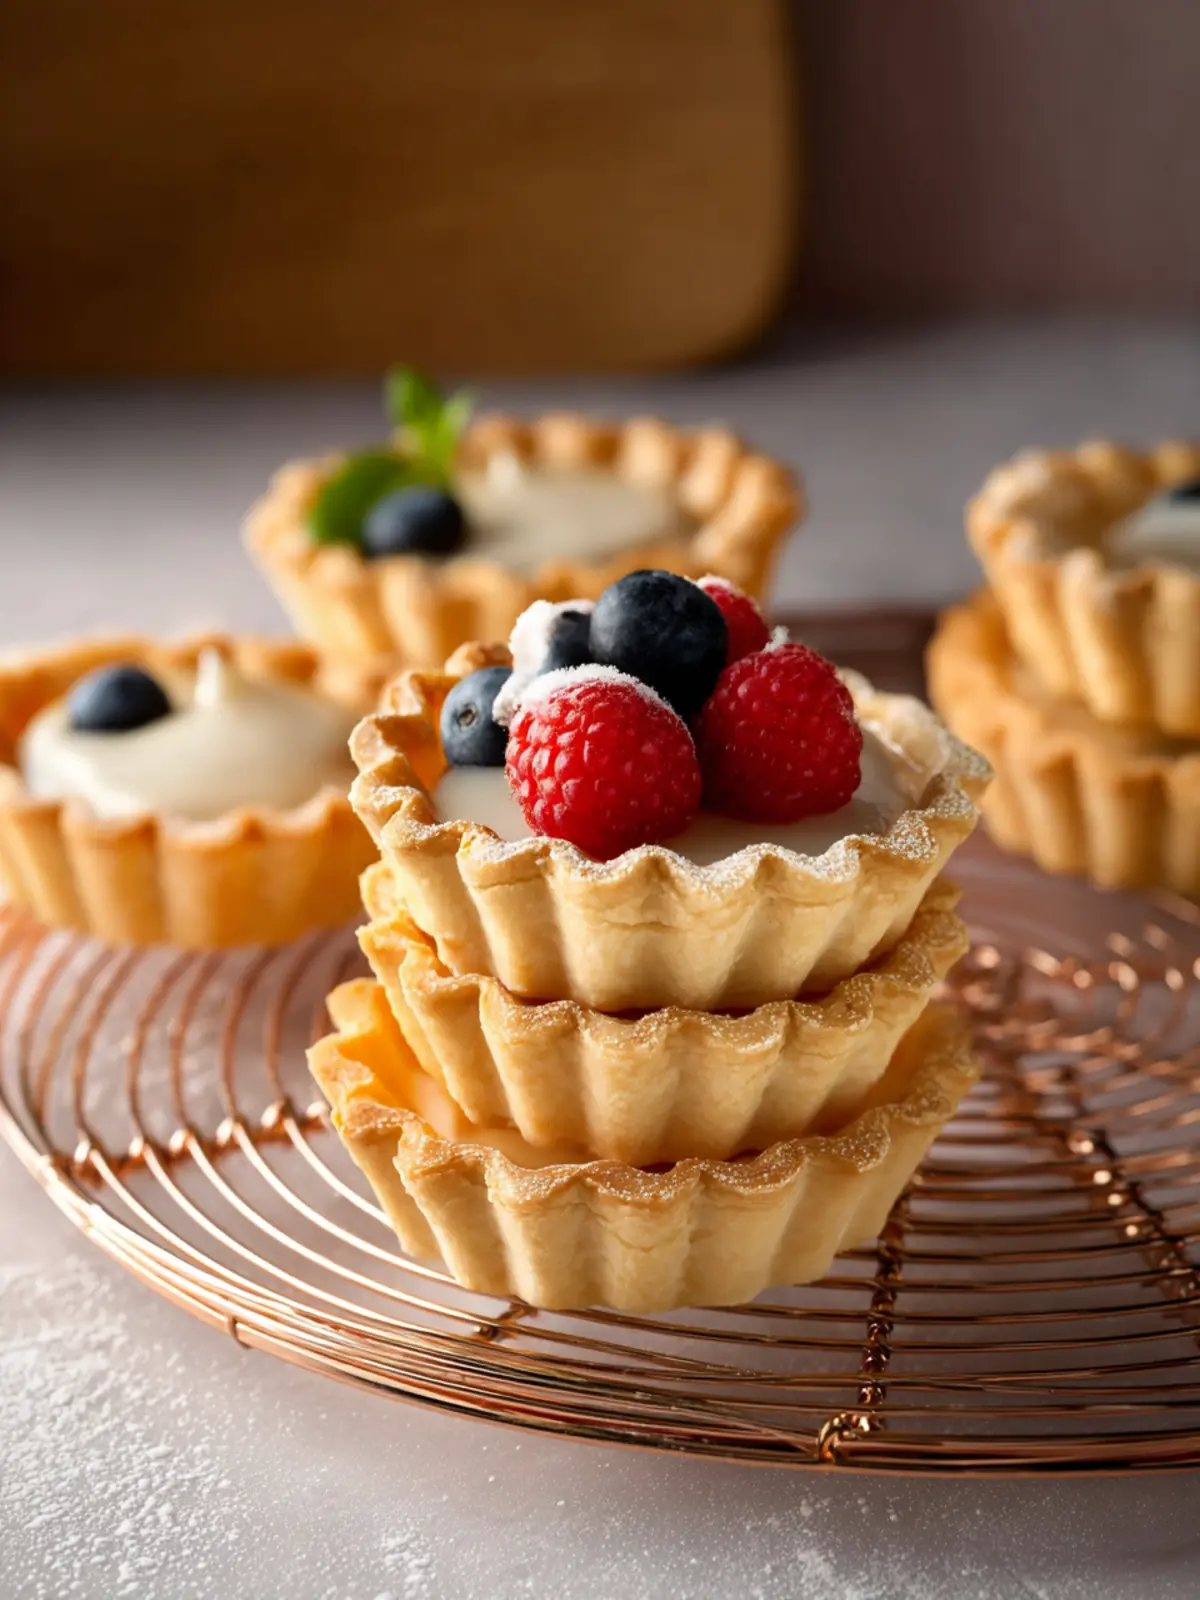
Tartlet Shells: Easy Mini Tart Shells for Perfect Desserts
Introduction to Easy Mini Tart Shells
There’s something magical about Easy Mini Tart Shells that makes them an irresistible culinary delight. These bite-sized treats are not just visually appealing; they pack a punch of flavor with every little bite. Whether it’s a cozy dinner party, a relaxed gathering with friends, or just a simple weeknight treat, mini tart shells elevate any occasion. Picture this: a buttery, flaky crust cradling a delicious filling that bursts with flavor. It’s the perfect combination of texture and taste.
So, what makes these mini tart shells such a delightful treat? Let’s dig a little deeper.
What Makes Mini Tart Shells a Delightful Treat?
-
Versatility in Fillings: One of the best aspects of tartlet shells is their versatility. You can fill them with anything from sweet pastry cream and seasonal fruit to savory ingredients like creamy cheeses and aromatic herbs. This flexibility allows you to cater to various taste preferences, making them suitable for any occasion.
-
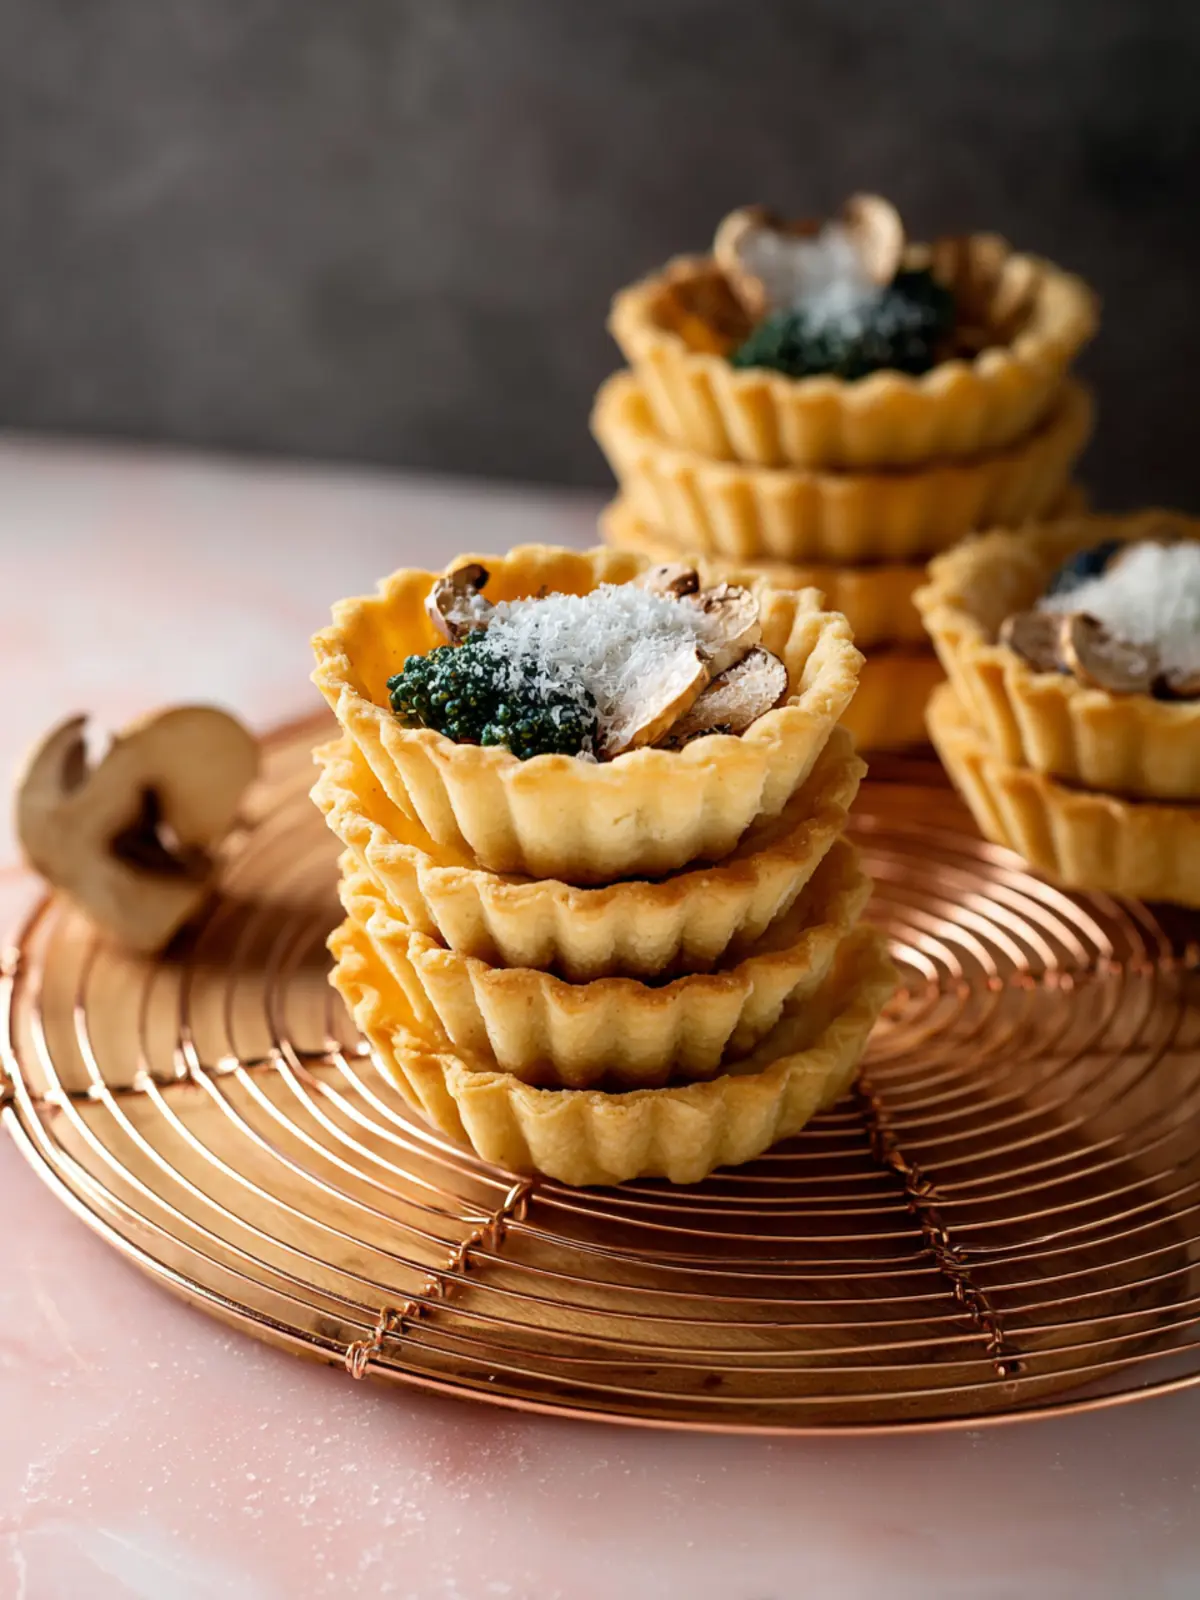
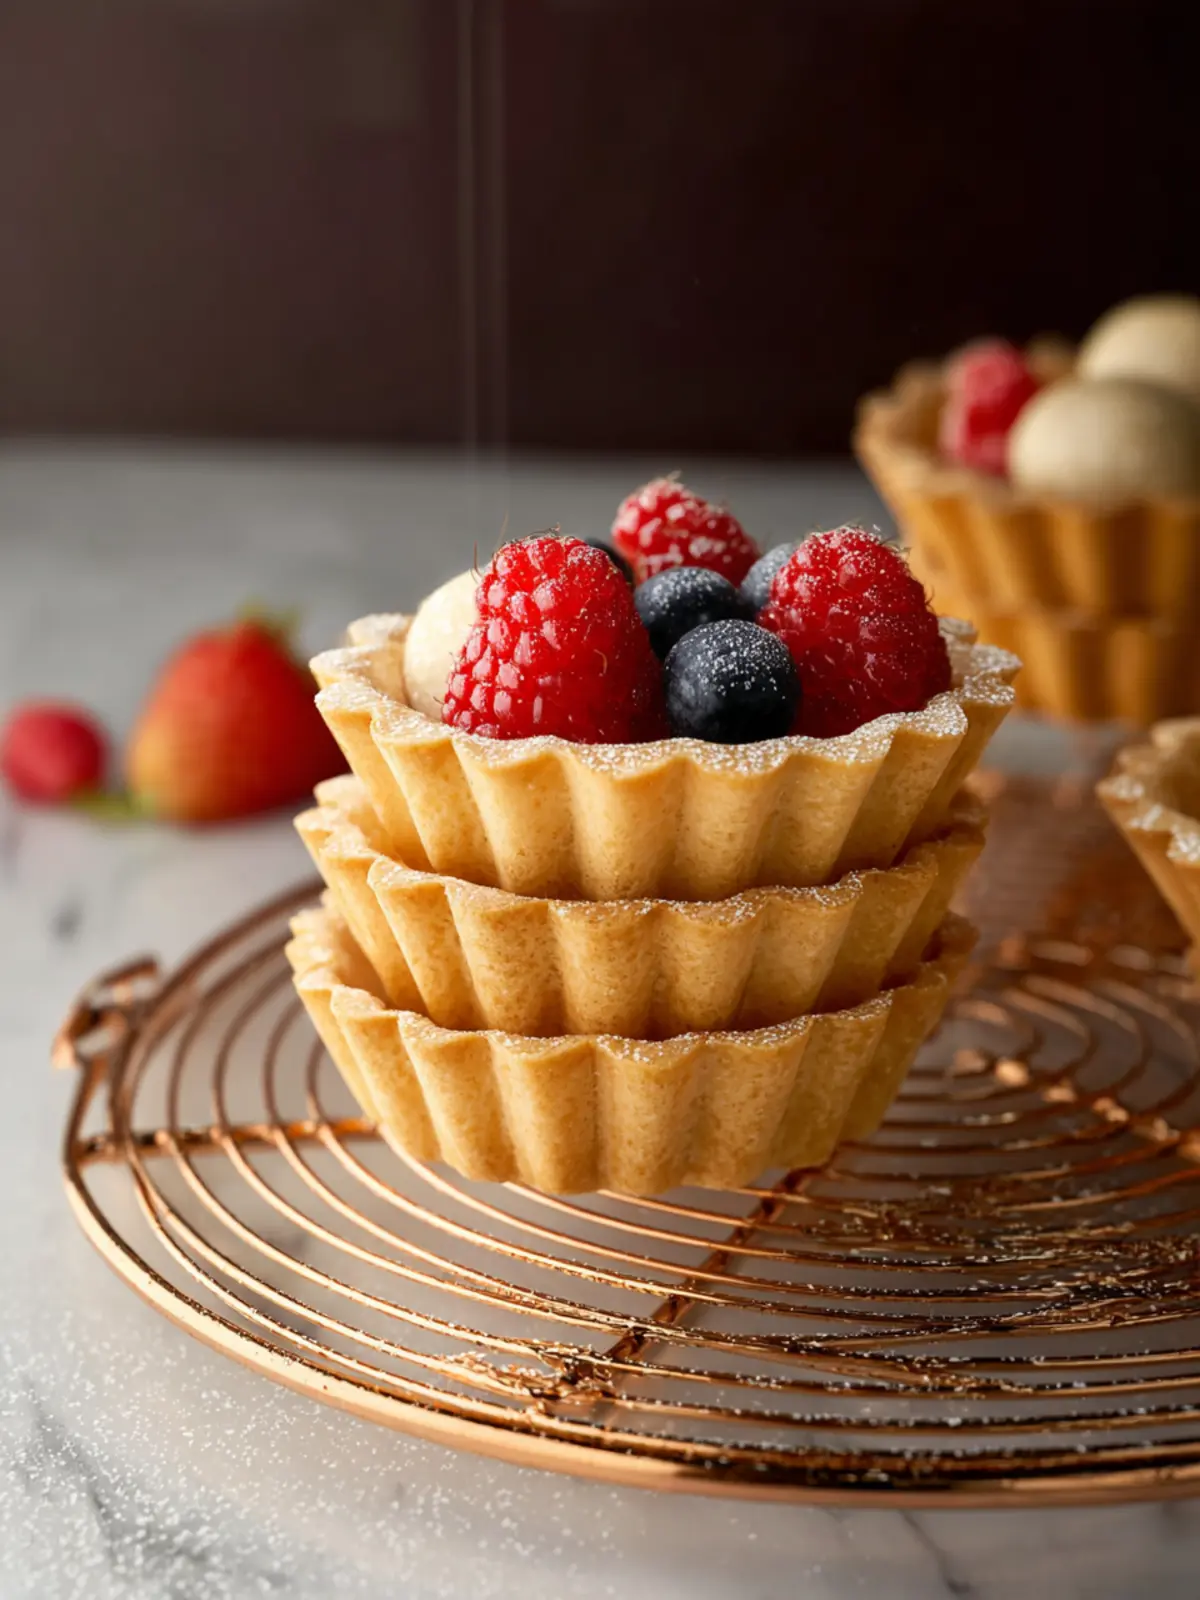
Perfect for Any Occasion: Hosting a brunch? Try fresh fruit tarts topped with a light glaze. Planning a dinner party? Savory tarts filled with mushrooms and cheese will impress your guests. The beauty of mini tart shells is that they can adapt to any theme or flavor profile.
-
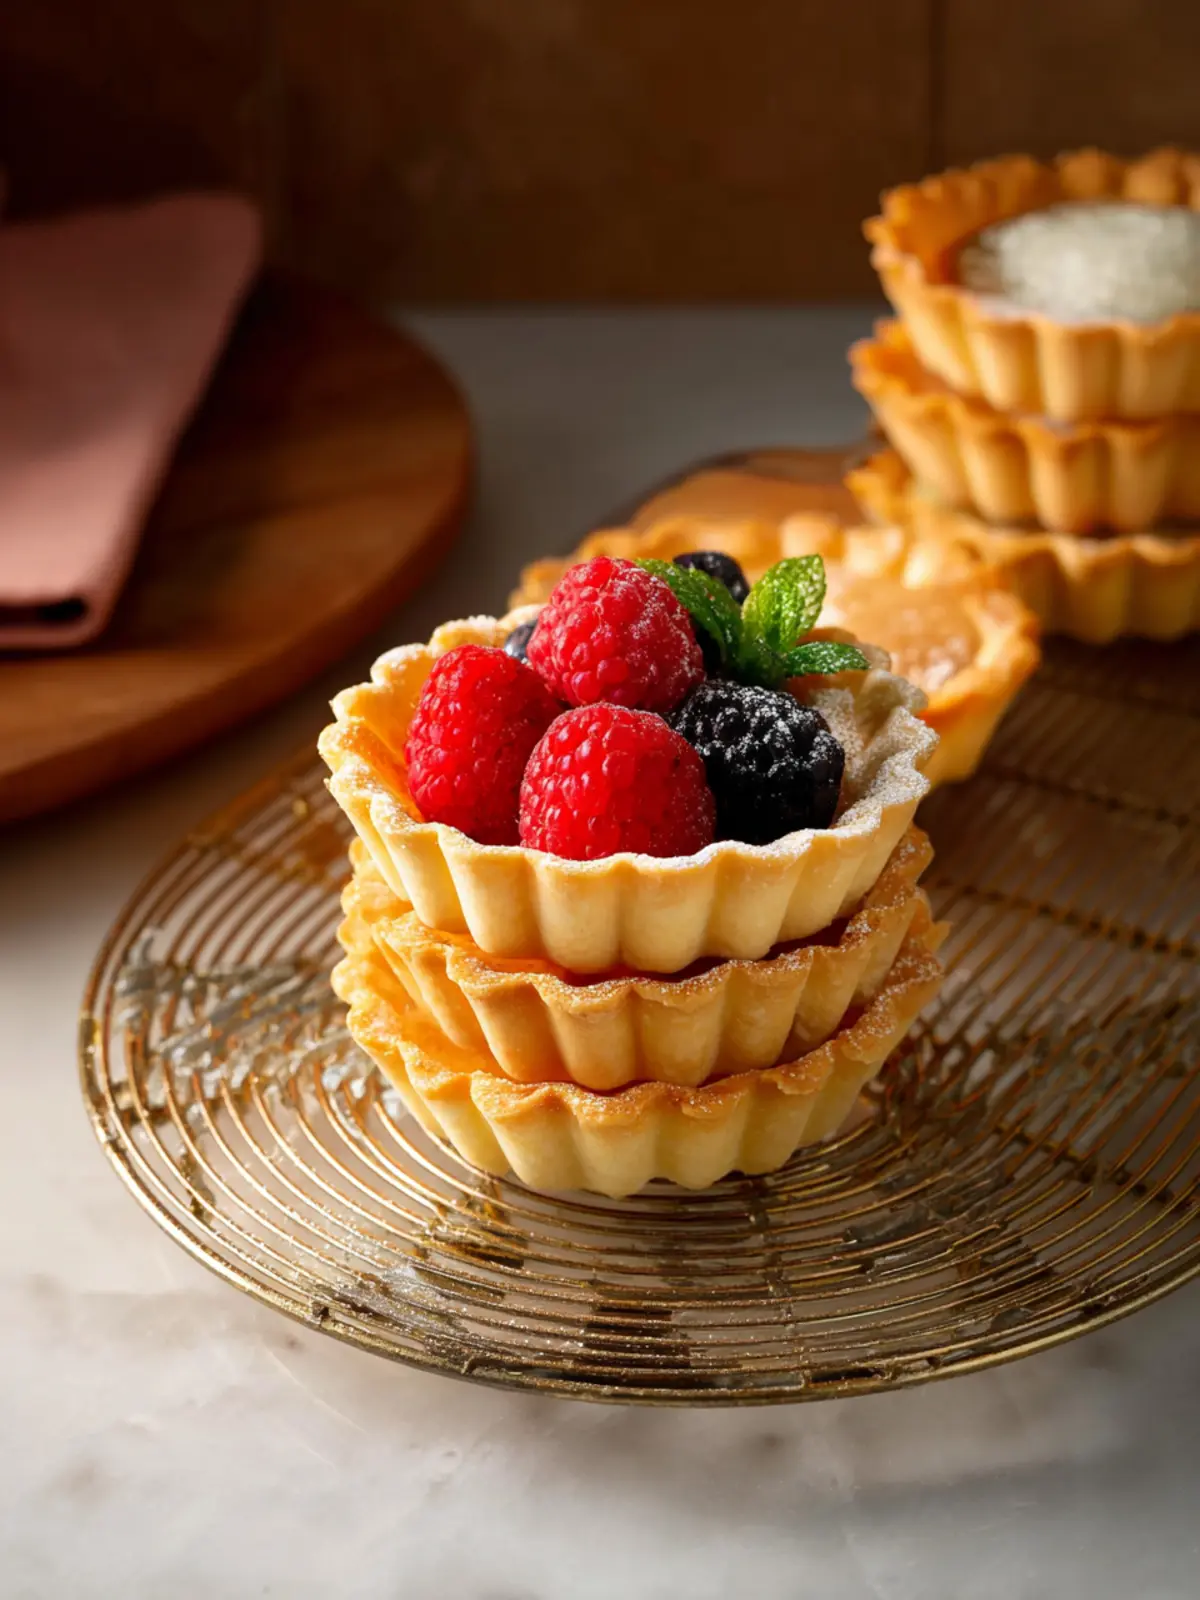
Impressive Presentation: Seeing a tray full of beautifully arranged mini tarts instantly elevates the aesthetic of any gathering. Their small size makes them perfect for sampling, and they look oh-so-elegant on a dessert table or hors d’oeuvres platter.
-
Easy to Prepare: Though they appear sophisticated, making mini tart shells is a straightforward process. With just a few ingredients and some simple techniques, you can create a batch that rivals your favorite bakery’s offerings.
Moreover, preparing these delightful shells at home means you control every aspect—from the sweetness of the filling to the crunchiness of the crust. So grab your apron and get ready to whip up these easy mini tart shells that are sure to impress!
Key Ingredients for Easy Mini Tart Shells
Crafting easy mini tart shells is an enjoyable process that transforms everyday ingredients into delightful treats. Each element plays a pivotal role in achieving the perfect flaky texture and buttery flavor.
-
All-Purpose Flour: The backbone of your tart shell. This versatile flour provides the structure needed to hold all those delicious fillings. If you’re considering gluten-free options, a 1:1 gluten-free blend often works well.
-
Butter: Rich and creamy butter is crucial for flavor. It adds a wonderfully flaky texture to the tart shells. I recommend using unsalted butter to better control the saltiness in your recipe.
-
Powdered Sugar: Unlike granulated sugar, powdered sugar lends a subtle sweetness without being overwhelming. It contributes to the tenderness of the tart shell while ensuring a melt-in-your-mouth experience.
-
Eggs: A single egg yolk adds richness to the dough, helping it come together beautifully. The yolk also enhances the color, giving your tart shells an appetizing golden hue.
-
Vanilla Extract: A splash of pure vanilla extract elevates the flavor profile, adding a warmth that complements the buttery base.
With these ingredients, you’re well on your way to creating scrumptious tartlet shells that will impress at any gathering!
Why You’ll Love These Mini Tart Shells
When you set out to create stunning desserts, mini tart shells will quickly become your go-to base. They offer a delightful balance of buttery flavor and crisp texture that elevates any filling you choose. Imagine exquisite sweet or savory options beautifully nestled in a delicate shell—these tartlets are not just treats; they’re tiny edible canvases for your creativity!
Perfect for Any Occasion
Whether it’s a cozy gathering with friends, a chic birthday party, or even a sophisticated holiday dinner, mini tarts work wonders. The versatility of these shells means you can fill them with rich chocolate ganache, zesty lemon curd, or a medley of roasted vegetables. Everyone will appreciate the attention to detail, and they’re usually gone in the blink of an eye!
Easy to Prepare
Another reason to adore these tartlet shells is their simplicity. Thanks to straightforward ingredients like flour, butter, and sugar, you can whip up a batch even on a busy weeknight. Just imagine—fresh-baked tart shells ready to be dressed with your favorite toppings. Plus, they’re ideal for meal prepping ahead of time, so you can always have something delicious on hand.
In short, these mini tart shells deliver elegance, ease, and endless flavor possibilities—what’s not to love?
Tips for Making Perfect Mini Tart Shells
Creating tartlet shells can be a delightful culinary adventure, especially when you want to impress your friends or add a touch of elegance to your dessert table. Understanding a few key techniques can elevate your game and help you achieve those perfectly crisp and flaky shells.
Precision is Key
- Chill the Dough: Before rolling out your dough, let it chill in the refrigerator for at least 30 minutes. This not only makes it easier to handle but also helps the butter solidify, resulting in a flakier texture.
Choose the Right Ingredients
- Quality Flour and Butter: Using high-quality all-purpose flour and cold, unsalted butter can make a significant difference in flavor and texture. It ensures a more tender and rich crust.
Roll and Shape Thoughtfully
- Even Thickness: When rolling out the dough, aim for an even thickness, about 1/8 inch. This consistency will ensure that your shells bake evenly without any burnt edges.
Mini Tart Shell Techniques
- Pressing the Dough: As you press the dough into your tartlet pans, make sure to evenly distribute the mixture, paying extra attention to the corners to avoid any cracks.
Blind Baking Matters
- Don’t Skip Blind Baking: Pre-baking your tartlet shells with pie weights helps them hold their shape and prevents a soggy bottom. Aim for a light golden color for the perfect texture.
With these tips in hand, you’ll be well on your way to mastering the art of tartlet shells. Enjoy the process, and let your creativity shine through with various fillings!
Time Details for Mini Tart Shells
Creating delightful Tartlet Shells requires some careful timing, but the delicious payoff is well worth it. Here’s the breakdown to ensure your baking experience is smooth and satisfying.
Preparation Time
The preparation for these mini tart shells takes about 15 minutes. This gives you enough time to combine the ingredients while dreaming up filling ideas!
Chilling Time
To achieve the perfect texture, chilling the dough for about 30 minutes is essential. Not only does this help to firm up the dough, but it also prevents unexpected shrinkage during baking.
Total Time
In total, you’ll be looking at around 45 minutes from start to finish. This includes all the preparation and chilling time. Once you’re done, you’ll emerge not only with beautiful Tartlet Shells but also with a sense of accomplishment!
Nutritional Information for Mini Tart Shells
Indulging in Tartlet Shells can be delightful, and understanding their nutritional profile can help you enjoy them even more responsibly. Let’s break down the essential nutritional components of these delightful mini desserts.
Calories
One mini tart shell typically contains around 100 calories. This makes them a lighter option for those moments when you want a sweet treat without overwhelming your calorie count.
Protein
Each mini tart shell provides approximately 2 grams of protein. While they might not be a significant source of protein, pairing them with a high-protein filling, like yogurt or custard, can elevate their nutritional value.
Sodium
With roughly 70 mg of sodium per tart shell, they are fairly low in salt, making them a reasonable choice for a balanced diet. Just keep an eye on any salty toppings or fillings to maintain a healthy sodium level.
FAQs about Mini Tart Shells
When diving into the delightful world of mini tart shells, you might find your mind buzzing with questions. These little treats are not only adorable but also endlessly customizable. Here, we address some common queries to help you make the most of your baking adventure.
How can I prevent my tart shells from shrinking?
Tart shells can be a bit finicky when it comes to baking. To minimize shrinkage, ensure you follow these tips:
- Chill the Dough: After you mix your dough, let it rest in the refrigerator for at least 30 minutes. Chilling helps the gluten relax and reduces the chances of shrinkage.
- Blind Bake: Use parchment paper or aluminum foil on top of your tart shell during the initial bake. Fill it with baking beans or rice to weigh it down, keeping the shell’s shape intact while it cooks.
Can I make these tart shells ahead of time?
Absolutely! Tartlet shells can be made in advance, which is perfect for prepping for a special occasion. Here’s how:
- Dough Storage: You can prepare the dough and refrigerate it for up to 3 days. For longer storage, freeze it wrapped tightly for up to 3 months.
- Baked Shells: If you prefer, bake the shells a day or two ahead. Store them in an airtight container at room temperature. This way, they’re ready for filling whenever you are!
What can I use as a filling for my mini tart shells?
The possibilities are endless! Here are a few delicious filling ideas for your mini tart shells:
- Fruit Compotes: Fresh fruits, jams, or compotes can create a lovely, vibrant flavor.
- Chocolate Ganache: Rich and velvety, it’s a classic choice for chocolate lovers.
- Lemon Curd: Tangy and sweet, this filling provides a zesty kick.
- Custard or Cream Cheese: For a smooth finish, consider using custard or flavored cream cheese.
Experiment with different fillings to discover your favorites and impress your guests!
Conclusion on Easy Mini Tart Shells
These Easy Mini Tart Shells transform any gathering into a delightful occasion, showcasing their versatility and charm. Picture this: a party where guests are greeted by an array of sweet and savory tarts, elegantly presented yet simple to prepare. The beauty of these tartlet shells lies not just in their flavor, but in the joy they bring when filled with seasonal fruits or decadent creams.
So, explore your creative side with fillings and toppings that resonate with your taste. Remember, with a foolproof recipe at hand, these tartlets will surely become a regular crowd-pleaser. Happy baking!
Print
Tart Dough
- Total Time: 2 hours 33 minutes
- Yield: 2 tart shells 1x
- Diet: Vegetarian
Description
A simple and delicious tart dough recipe perfect for any filling.
Ingredients
Scale
- 8 tbsp unsalted butter (see notes for using salted)
- ½ cup granulated sugar
- ⅛ tsp salt
- 1 egg
- 250 g all-purpose flour (2 cups flour, spooned and leveled)
Instructions
- Using a standing mixer with paddle attachment, or using a hand-held mixer with a large bowl, cream butter, sugar, and salt at medium speed until combined.
- Mix in the egg, scraping down the bowl to ensure it is fully incorporated.
- Add the flour and mix on low until just incorporated, scraping down the bowl as necessary. Do not overmix.
- On a lightly floured surface, divide dough into 2 balls and shape each into a disk ½ inch thick.
- Wrap tightly in plastic wrap and refrigerate for at least 2 hours or overnight.
- When ready to bake, preheat oven to 325 ℉.
- Remove the dough from the fridge and roll out to about ⅛ inch thick.
- Working quickly so the dough stays cold, cut out circles about ½-1 inch larger than the tart pans and gently place into the tart pans, being careful to not stretch out the dough.
- If mini tarts need more dough, add more dough and press into place. If dough gets too soft, put it back in the fridge or freezer for 10-15 minutes.
- Once you’ve filled the tart shells, cut off any excess using a knife or roll the rolling pin across the top to remove any excess.
- Score the bottoms of the tarts by gently poking the bottom of the tart shells with a fork about 2-5 times.
- Before baking, chill or freeze the tart shells for 15 minutes.
- Then, place the chilled tarts on a baking sheet and bake in the preheated oven for 14-18 minutes (for 4 inch tarts), turning the pan halfway in between.
- When tarts are golden brown, remove from oven and let cool.
- Once cooled, remove from mold, add desired filling, and enjoy!
Notes
- For salted butter, adjust salt accordingly.
- Prep Time: 15 minutes
- Cook Time: 18 minutes
- Category: Dessert
- Method: Baking
- Cuisine: French
Nutrition
- Serving Size: 1 slice
- Calories: 120
- Sugar: 2g
- Sodium: 100mg
- Fat: 7g
- Saturated Fat: 4g
- Unsaturated Fat: 3g
- Trans Fat: 0g
- Carbohydrates: 15g
- Fiber: 0g
- Protein: 1g
- Cholesterol: 30mg